Ground Images
Gallery captions written by John Ward (President & Historian......49Squadron Association)

A photo of a group of 49 Sqn Waafs at Scampton in Aug 1940. All I know is that one of them is Anne Heiffer
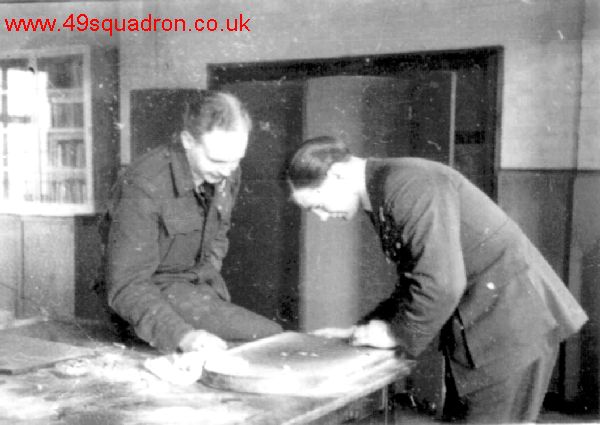
Fiskerton, 15th March 1944: Your crew names are on the "Battle Order" for tonight's operation. For most crews this was the hardest part........the waiting game! In this instance the "waiting game" appears to be "shove ha'penny" (Ken Gibson)
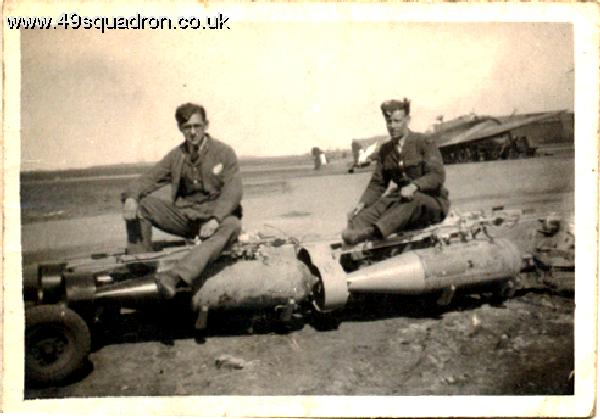
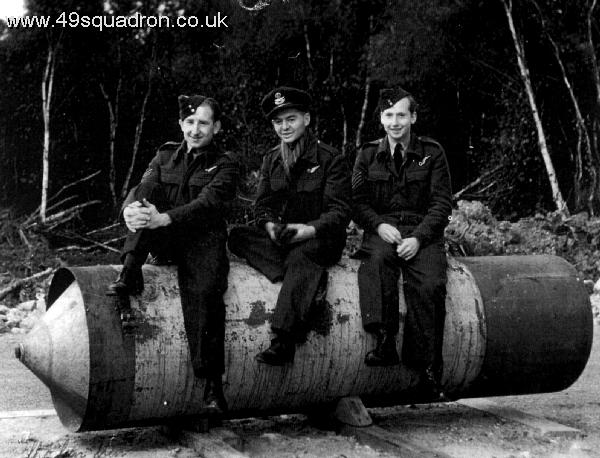
Scampton 1941: Hampden 'bomb load' Jim Priestly on the right.
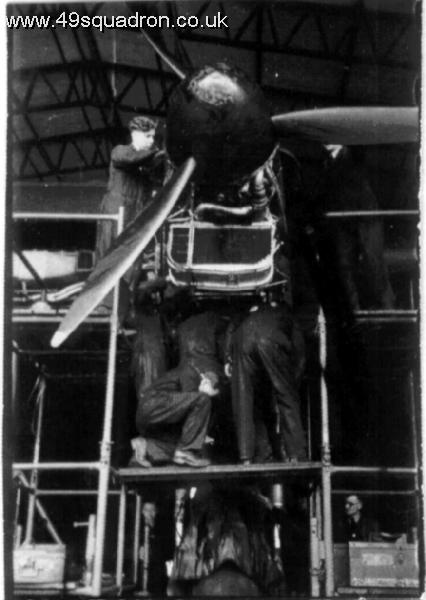
How many fitters does it take to service a Merlin? - Six, with two watching on! Activity in the Maintenance T2 Hanger at Fiskerton in March 1944. (Ken Gibson)
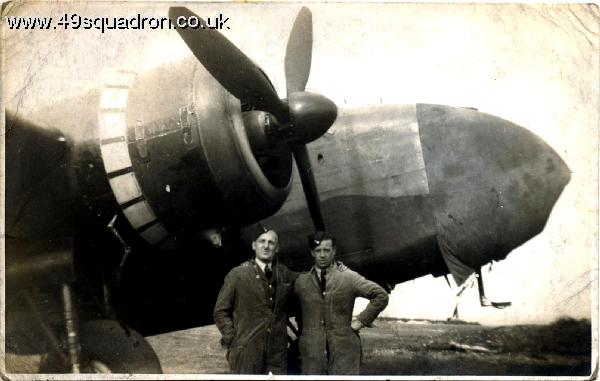
Scampton 1941: Hampden - Jim Priestly on the right.

Scampton 30 May 1942: Armoureres feeding the rear turret of a 49 Sqn Mk I Avro Manchester ready for the night's raid to Cologne (1,000 plane raid)
Bardney 1943: P/O Ken Gibson B/A seated in the centre on a 'cookie' in the bomb dump at RAF Bardney. Ken stsrted on 49 Sqn then was transferred to 9 Sqn at Bardney. He later returned to 49 Sqn at Fiskerton and Fulbeck where as F/Lt he became the squadron's Bombing Leader.
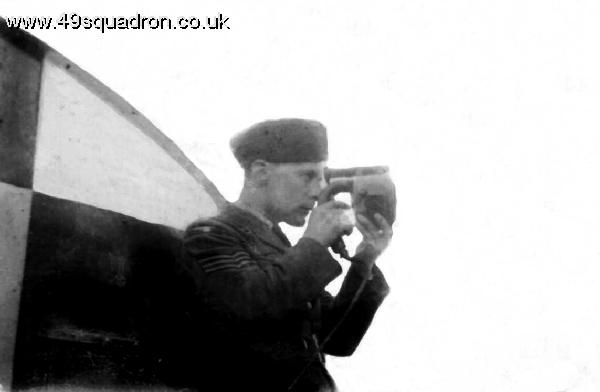
Fiskerton, 15 March 1944: Standing on the back step of the Control caravan at the start of Fiskerton’s main runway, the air traffic control Sgt uses his Aldis lamp to give the green ‘go’ to a waiting Lancaster. (Ken Gibson)
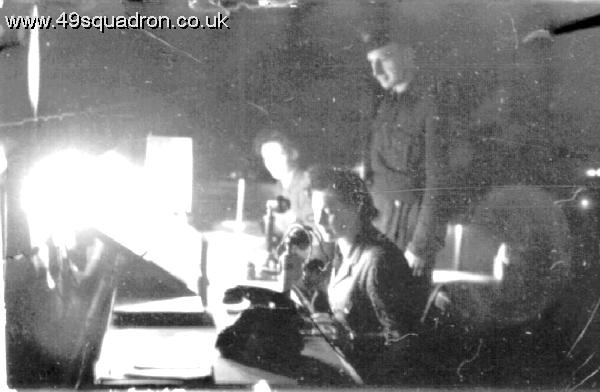
Fiskerton 15/16 Mar 1944: The air traffic control WAAF Cpl efficiently ’stacks’ her returning Lancs following their trip to Stuttgart. All will be aware that a mid-air collision has just happened at nearby Waddington. The squadron dispatched 18 aircraft on the raid and 17 would return. The control tower staff will continue their vigil long after T for Tare was due to return. Sadly their diligence will be in vain - P/O Waugh’s crew is not coming home, they perished some hours earlier, victims of a German night fighter. (Ken Gibson)

Fiskerton during the FIDO demonstration. The photo was taken on 3 Nov 1943, from 500ft looking in a south westerly direction, showing clearly the main runway threshold. To the left of the shot, above the Lancaster at dispersal, can be seen the concrete base for the not yet erected B1 hanger. The T2 hanger is clearly visible and to it’s right can be seen the watch office complex. Moving further up the photo on the left, Lancasters of A Flt at dispersal can just be seen. Fiskerton village is off to the left and in the top left distance in the direction of Washingborough can be seen the River Witham. At the bottom of the picture is the FIDO cross bar of flames that Clive Roantree described as ‘reflecting off the Perspex windshield so that it was impossible for the pilot to see out’. Such was the problem encountered by the Richardson crew when they tragically crashed on their approach during the night of 26/27 November 1943

Scampton the summer of 1942: 49 Sqn ground crew take advantage of a rare ‘off duty’ period to do a little well earned and well needed sun bathing! Note the pre-war married quarters visible top left with Tillbridge Lane on the distant tree lined horizon. (J.A. Priestley)
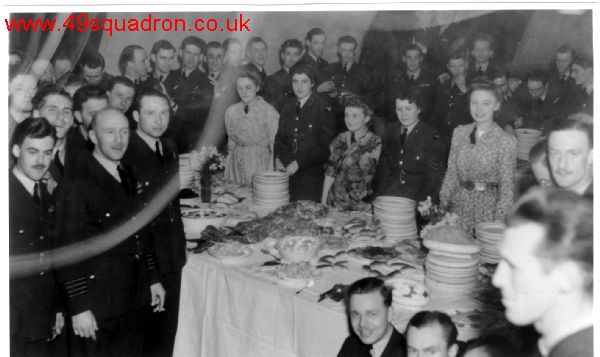
A belated Officers ’Mess Christmas Party at Fulbeck in mid January 1945. Standing to the left of the Group Captain is P/O Bert Weatherley, the most recent member to join the mess (promoted 6-1-45). (A.L. Weatherley)
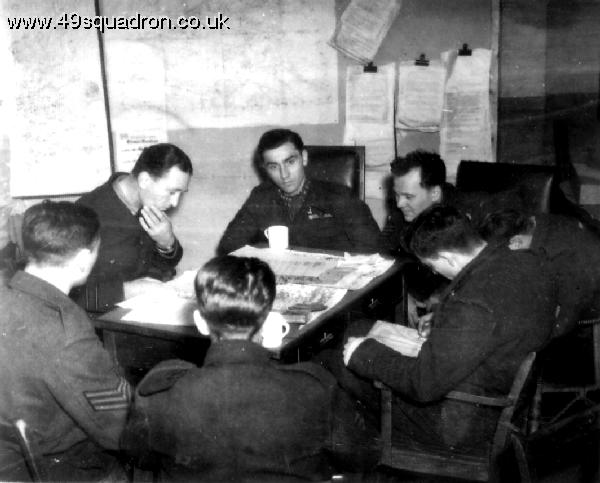
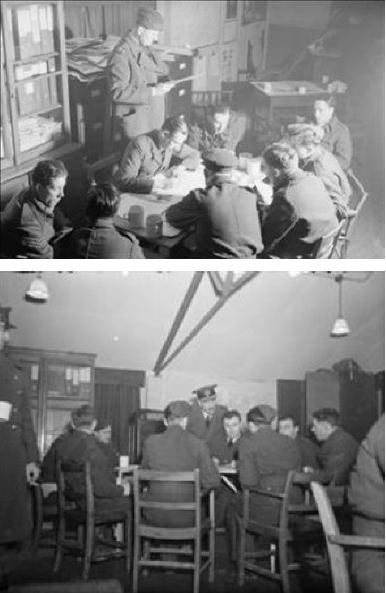
P/O Tudor Jones (centre) and crew being interrogated following their successful trip to Stuttgart 20/21-2-44. “Stuttgart 04.02hrs, 22,500ft, 1st wave. 8/10ths cloud at beginning of bombing clearing later. Centre of 4 Wanganui flares, green and red stars in sights. On leaving, many fires burning. Route and trip good. No incidents, flak moderate, fighters nil. Landed 07.50hrs”
Intelligence Officer Shepherd, fondly referred to as 'The Bishop', de-briefs a yet un-identified 49 Sqn crew at Fiskerton on their return from Stuttgart 20/21-2-44.
Fiskerton 15 March 1944: Outside the locker rooms.

Fiskerton 15 March 1944: Outside the locker rooms, broad smiles and laughter all round , as a gunner gets ‘zipped’ into his yellow Kapox flying suit. These heated suits were essential wear for gunners working in their sub-zero environment. (Ken Gibson)
During the winter of 1944/45 at Fulbeck, 49 Squadron Air Bombers held a party for the squadron's armourers, photo and instrument sections. In this photograph it is difficult to put names to all those shown, but they include: LAC Starling; F/Sgt Read, F/Sgt Perfect; Cpl Tomlinson; F/Sgt Borman; F/O Goldsworthy RAAF; W/O Jenkins RAAF; F/O Stokoe; F/Sgt Westaway RAAF (K. Gibson)

A priceless photograph as the Air Bombers party begins to go with a 'swing'. F/Sgt Westaway RAAF (top right) is seen in fine voice whilst Ken Reed (bottom left) has a more relaxed expression.(K Gibson)
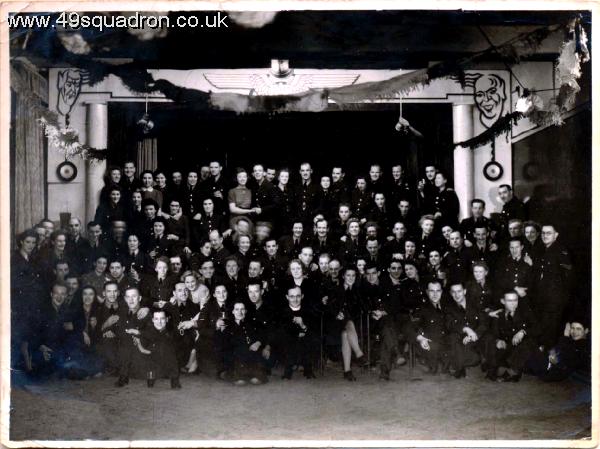
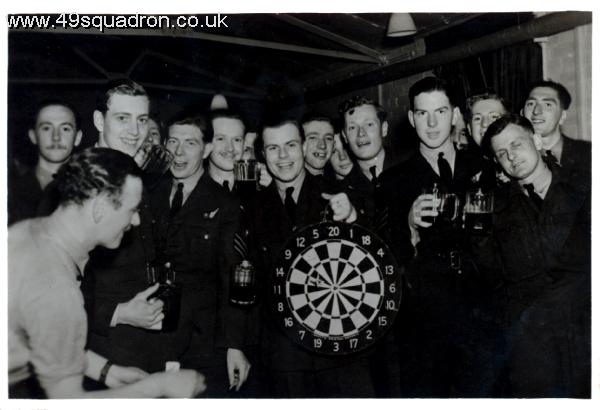
Scampton’s Christmas Base party took place on Thursday night 10th December 1942.
An excellent shot of some of the ground staff at Fiskerton in the summer of 1943. Back row l to r. Arnold Hazelwood, Joe Steel, Bill Wooton, Rex Yates, Chas Allen, Derek Richmond, Fred Cheadle, Les Jarvis, Bill Hyland, ‘Pash’ Palmer. Front row l to r. Unknown, Harry Williams, Brandon, Charley Grossey, Ted Ousten, Jack Barnes, Bill Fox, Ted Paling.

A very nice photo taken at Fiskerton during the Battle of Berlin. The official caption states that it shows Station personnel looking at the night flash photos following the raid to Berlin 22/23 Nov 43. Our Historian has tried to assimilate the code letters with the a/c that participated that night bit to no avail. He is left wondering that perhaps it was not that night but another or the photo is a 'set up'.
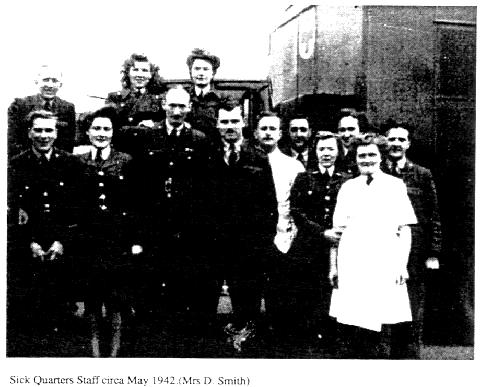
Medical Section May 1942
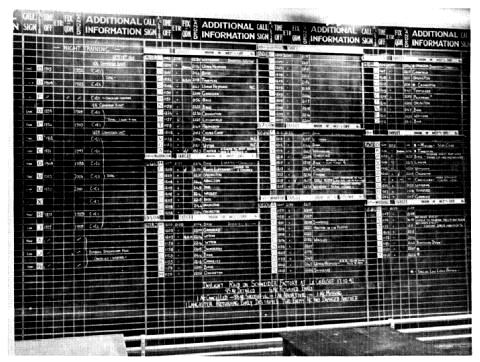
The operations board at Grantham

49Sqn Groundstaff at Fiskerton in 1943. The 'me' reference is for Dorothy 'Dot' Everette.
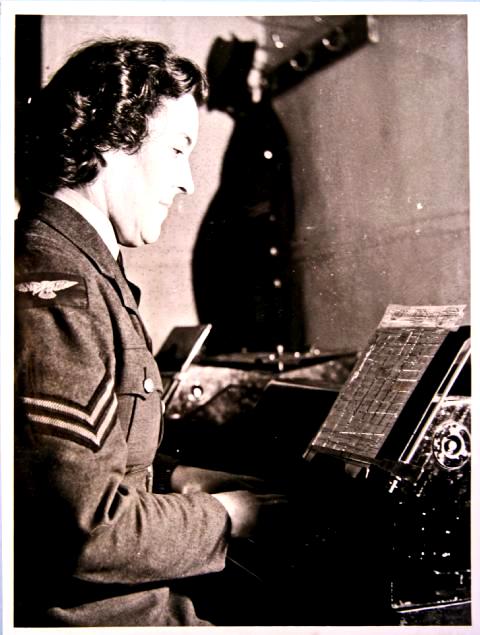
WAAF in the Signals Section
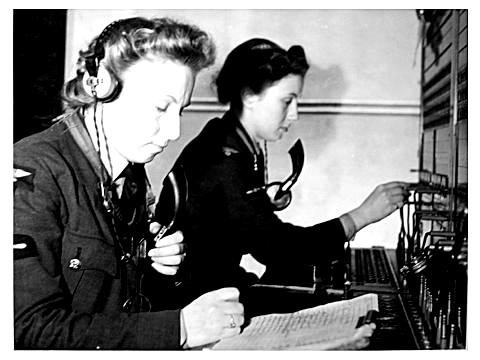
WAAFs on PBX (Private Branch Exchange)
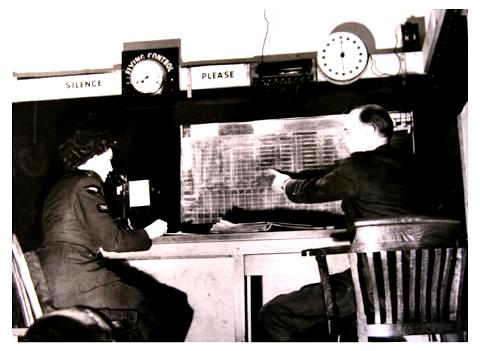
Scampton flying control
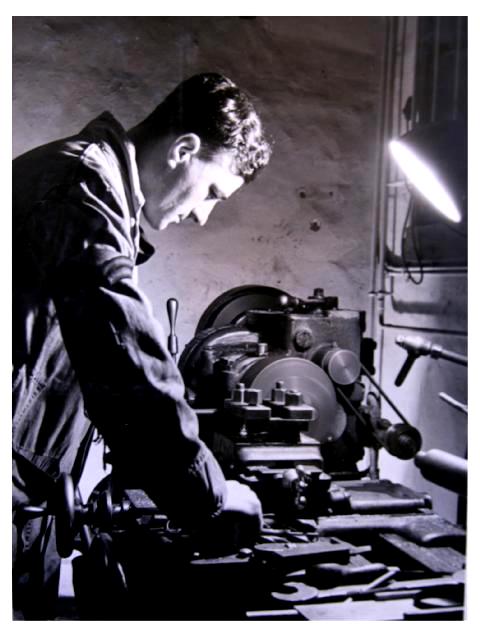
Scampton workshops
Members of the maintenance section
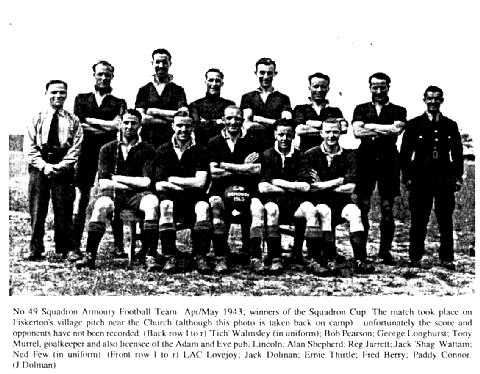
Squadron football team May 1943

Gunnery Section 49Sqn 1942 pictured with some aircrew

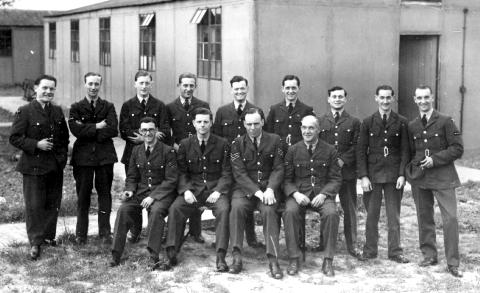
Officers at Scampton

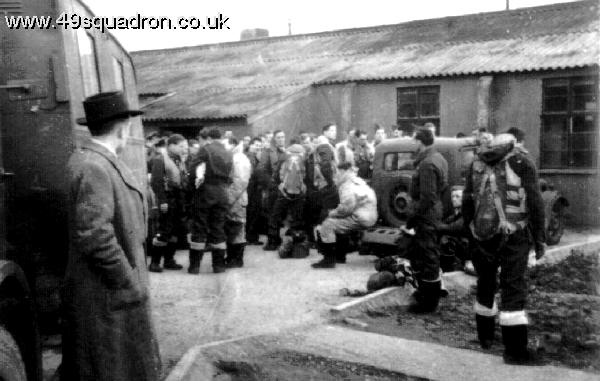
Scampton crews heading for operations
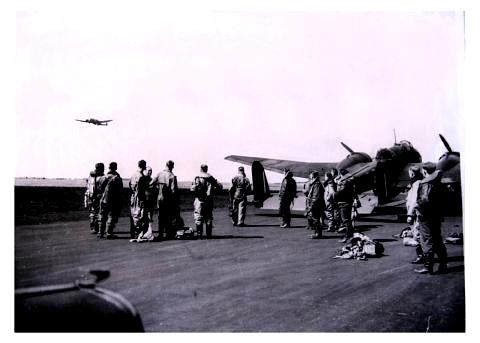
49Sqn crews watch Hampdens take off from Scampton
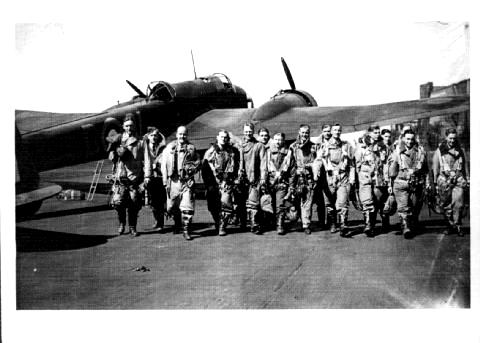
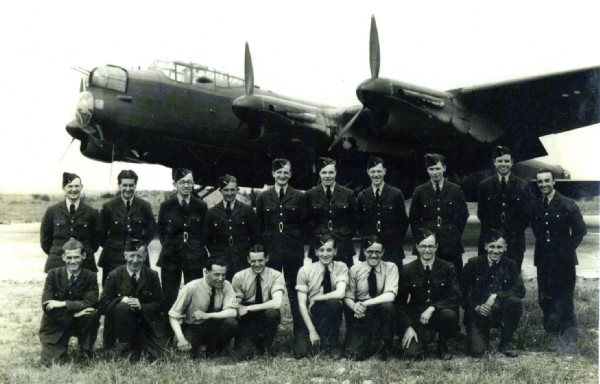
1940 aircrew
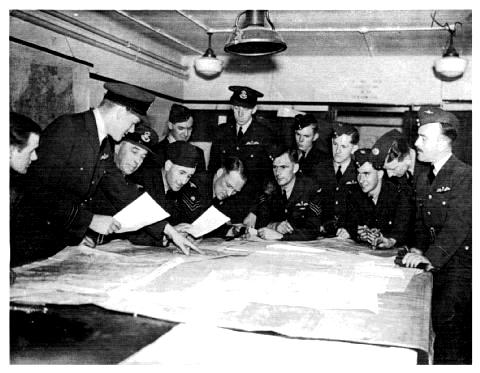
A briefing session
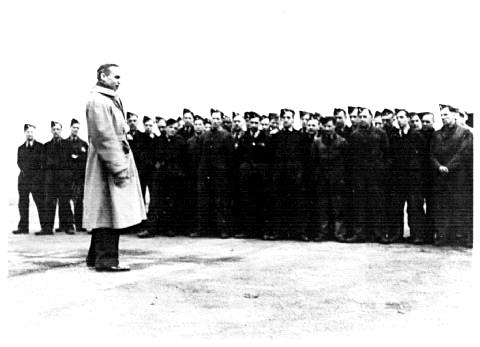
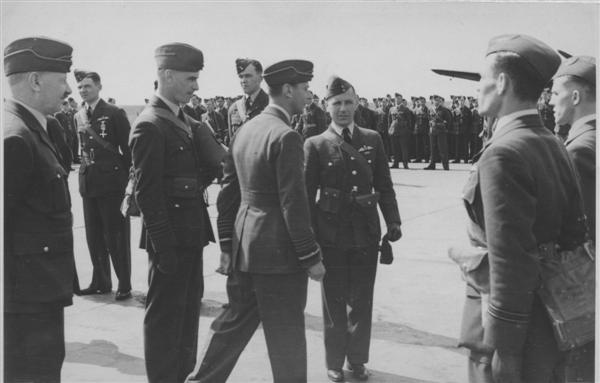
The AOC visits 49Squadron at RAF Fulbeck
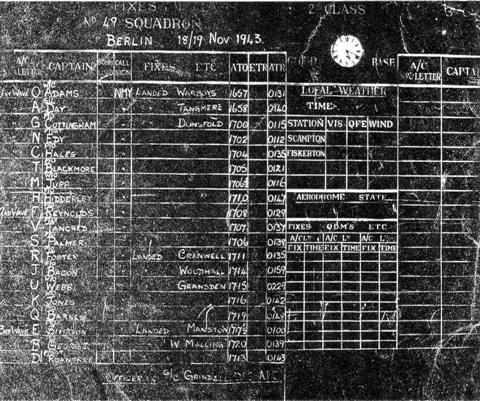
The operations board for a Berlin raid dated 18/19 November 1943. The original caption tells us that all 19 crews returned safely from this raid and 12 of these pilots (and crews?) survived to complete a full tour. Sadly this snapshot was not repeated very often and is not representative of the true loss rate.
Both photographs were taken at Fiskerton on the night of 24/25th March 1944 following a raid on Berlin. AVM Pope (wearing the peaked cap) and the Air Commodore were present. The crews had just landed using FIDO. As yet the two crews are not identified.
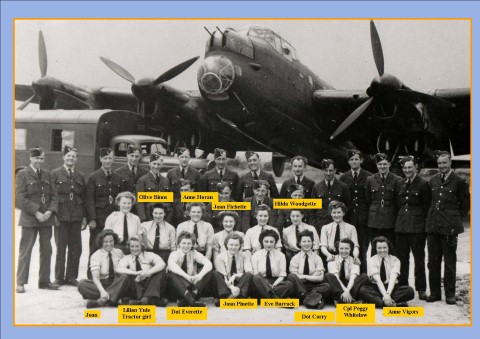
Fiskerton Waafs and groundcrew
The King's visit on 26th May 1940 to award medals to 49 & 83 Sqns. Left is Sir Cyril Newall then Group Captain Warmsley next to the King.
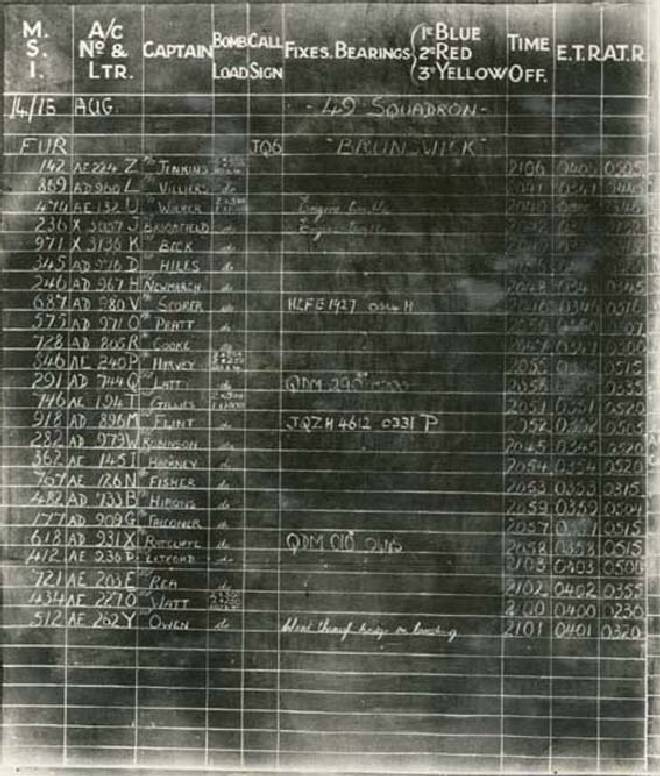
14/15th August 1941: Eighty-one Hampdens went after railway targets in the Brunswick region. The squadron launched 24 aircraft of which 2 returned immediately; the remainder continued, with 11 aircraft able to locate and bomb the primary objective despite low cloud and haze. All the others attacked alternative targets at Arnhem, Bremen, Saldstedt, Hannover, Minden and Lehrte.
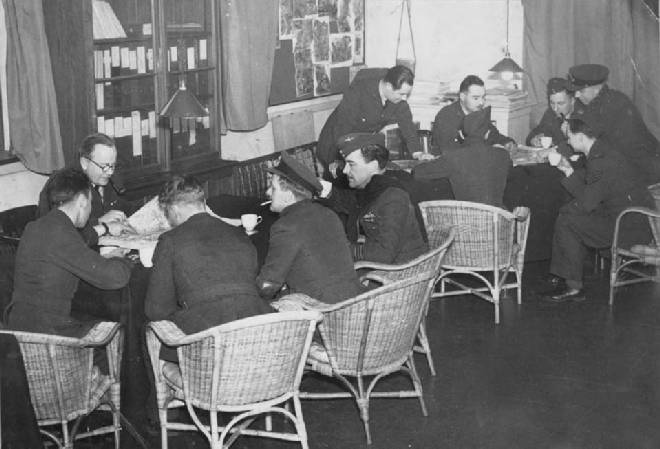
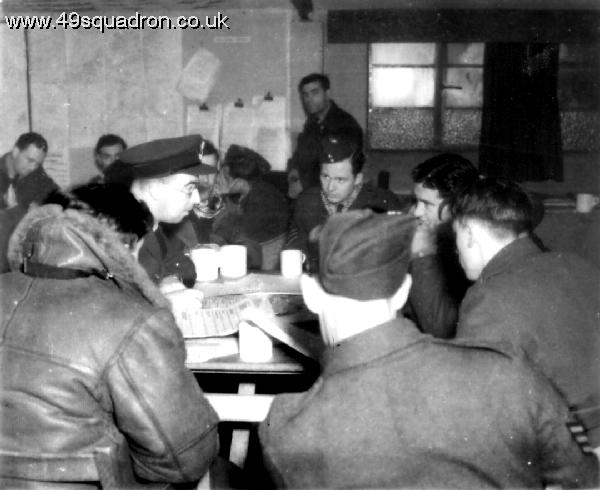
Debriefing interrogation from a 1941 raid......Scampton style.